
Upload Photo Guide for Smart Communications SIM Registration
The Smart SIM Registration Upload Photo Guide helps users correctly upload their valid ID photo and selfie during SIM registration in the Philippines. Many registrations fail or go into manual review because of blurry photos, wrong angles, or unreadable ID details.
This guide explains how to upload photos correctly, what Smart accepts, common mistakes to avoid, and tips to get instant approval in 2026.
Why Photo Upload Is Required for Smart SIM Registration
Photo upload is mandatory under Republic Act 11934, also known as the SIM Registration Act.
Smart requires photo uploads to:
- Verify your identity
- Prevent SIM-related scams
- Match personal data with official ID
- Protect mobile users across the Philippines
Without proper photo uploads, SIM activation may be delayed or rejected.
Types of Photos Required in Smart SIM Registration
During registration, Smart requires two photos only:
1️⃣ Valid ID Photo
2️⃣ Live Selfie Photo
Both must be clear, recent, and readable.
Valid ID Photo Upload Guide (Step-by-Step)
Accepted IDs for Upload
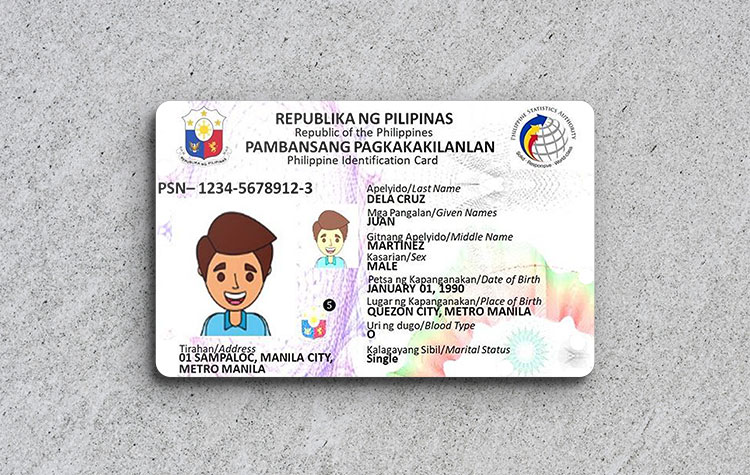
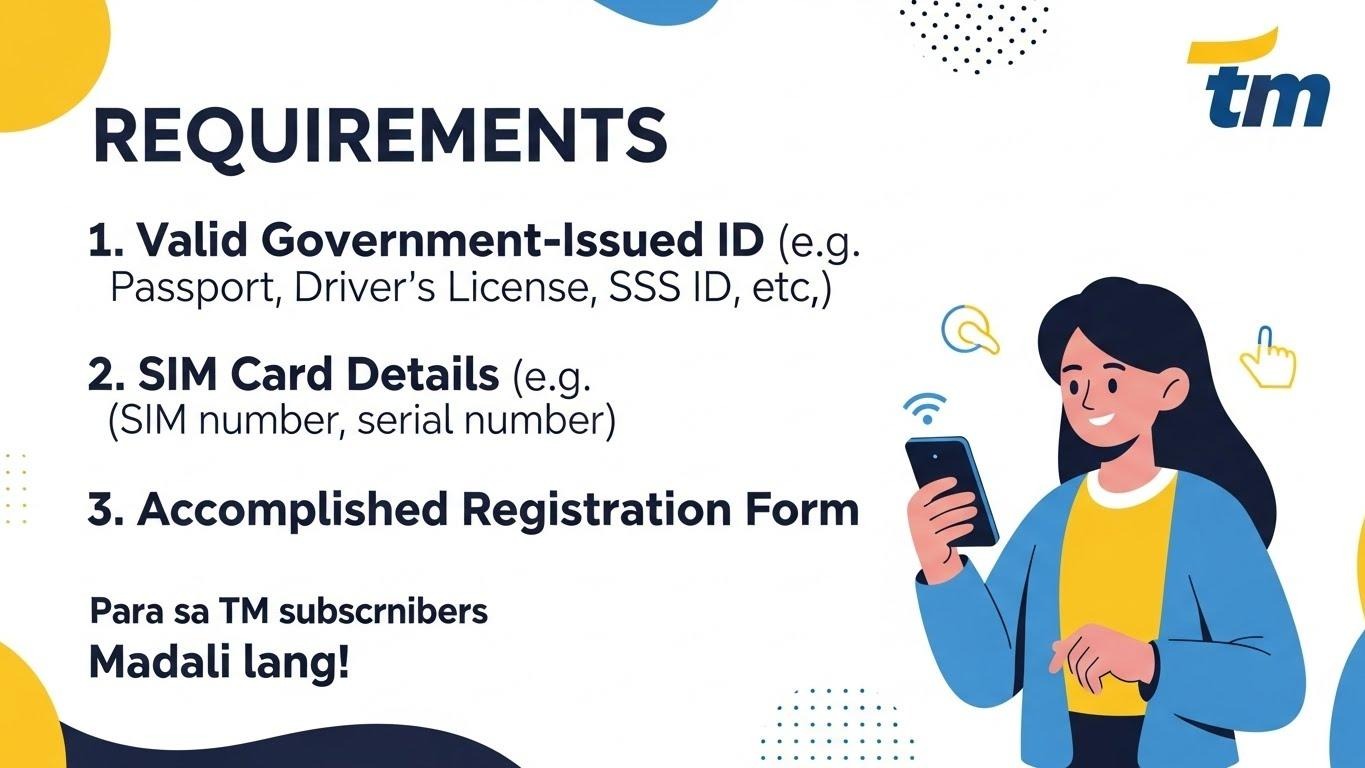
You may upload one valid government-issued ID, such as:
- Philippine National ID
- Driver’s License
- Passport
- UMID
- SSS ID
- PhilHealth ID
- Voter’s ID
- PRC ID
- NBI Clearance
How to Take a Perfect ID Photo
Follow these rules to avoid rejection:
✅ Use original physical ID
✅ Place ID on a flat surface
✅ Ensure full ID is visible
✅ Text, photo, and ID number must be readable
✅ Use good lighting (natural light preferred)
🚫 Do NOT upload:
- Cropped ID
- Screenshot
- Blurry or dark image
- Photocopy
- Edited image
Selfie Photo Upload Guide for Smart SIM Registration

Selfie Photo Rules (Very Important)
Your selfie is used for identity matching with your ID.
Follow these rules:
✅ Take selfie live during registration
✅ Face must be fully visible
✅ Look straight at the camera
✅ Neutral facial expression
✅ Plain background
🚫 Do NOT:
- Wear sunglasses or cap
- Use beauty filters
- Cover face
- Upload old photos
- Take selfie in low light
Technical Requirements for Photo Upload
To avoid upload errors, follow these technical tips:
- File format: JPG / PNG
- File size: Under 5MB
- Camera: Mobile phone camera recommended
- Internet: Stable connection
Common Photo Upload Errors & How to Fix Them
❌ Blurry ID Photo
✔ Retake photo in bright light
✔ Hold phone steady
❌ Name Not Matching ID
✔ Enter name exactly as shown on ID
❌ Selfie Rejected
✔ Remove glasses, mask, or cap
✔ Retake selfie in plain background
❌ Upload Failed
✔ Check internet connection
✔ Refresh page and retry
Photo Upload Guide for Foreigners & Tourists
Foreign nationals must upload:
Required Photos
- Passport biographical page
- Live selfie
Extra Tips for Foreigners
- Passport photo must be clear & complete
- Passport number must be readable
- Use hotel room lighting for selfie
📌 Tourist SIM cards remain valid for 30 days from activation.
What Happens After Uploading Photos?
After submitting photos:
- Smart reviews uploaded ID & selfie
- Status may show “Under Verification”
- Manual review may apply if unclear
- Final confirmation appears once approved
Keep your control number safe for tracking.
Tips to Get Instant Approval (Expert Advice)
✔ Use daylight
✔ Clean camera lens
✔ Avoid shadows
✔ Double-check ID details
✔ Upload photos in one attempt
Following this Smart SIM Registration Upload Photo Guide greatly increases approval speed.
Final Thoughts
Uploading photos correctly is the most important step in Smart SIM registration. A clear ID and proper selfie ensure fast verification, legal compliance, and uninterrupted service.
Always follow official photo guidelines, avoid shortcuts, and complete the process carefully to keep your Smart SIM active in 2026.


